Understanding Beverage Cooler Repair Basics
Beverage coolers are essential appliances for many homes and businesses, providing the perfect storage conditions for beverages ranging from soda to wine. However, like all appliances, they can encounter problems that require repair. Understanding the basics of beverage cooler repair is crucial for anyone looking to maintain their unit effectively or consider DIY fixes. In this comprehensive guide, we’ll delve into common issues, tools required, and safety tips for handling repairs.
Common Problems with Beverage Coolers
Many factors can affect the performance of a beverage cooler. Here are some of the most common issues:
- Temperature Control Issues: This is one of the most prevalent problems. The cooler may not maintain the desired temperature, causing beverages to warm up.
- Compressor Failures: The compressor is the heart of any cooling system. If it isn’t working, the cooler will not function properly.
- Defrost Drain Blockages: If the defrost drain is blocked, it can lead to water pooling inside the unit.
- Dirty Condenser Coils: Dust and debris can accumulate on the coils, affecting the cooler’s efficiency and ability to release heat.
- Noisy Operation: Unusual noises can indicate mechanical issues that may need addressing.
Tools Needed for Effective Repairs
Before starting any repair work, it’s essential to gather the right tools. Some commonly needed tools include:
- Multi-meter: For testing electrical components.
- Wrench set: Useful for loosening nuts and bolts.
- Screwdriver set: For removing and replacing screws in the unit.
- Vacuum cleaner: To clean dust from condenser coils.
- Refrigeration gauges: To assess the cooling system’s pressure.
Safety Precautions Before Starting
Safety should always be your priority when working on electrical appliances.
- Disconnect Power: Always disconnect the cooler from power before beginning any repairs.
- Use Personal Protective Equipment (PPE): Safety glasses and gloves are recommended to protect your eyes and hands.
- Work in a Ventilated Area: Make sure to have good airflow in your repair area, especially when working with refrigerants or cleaning agents.
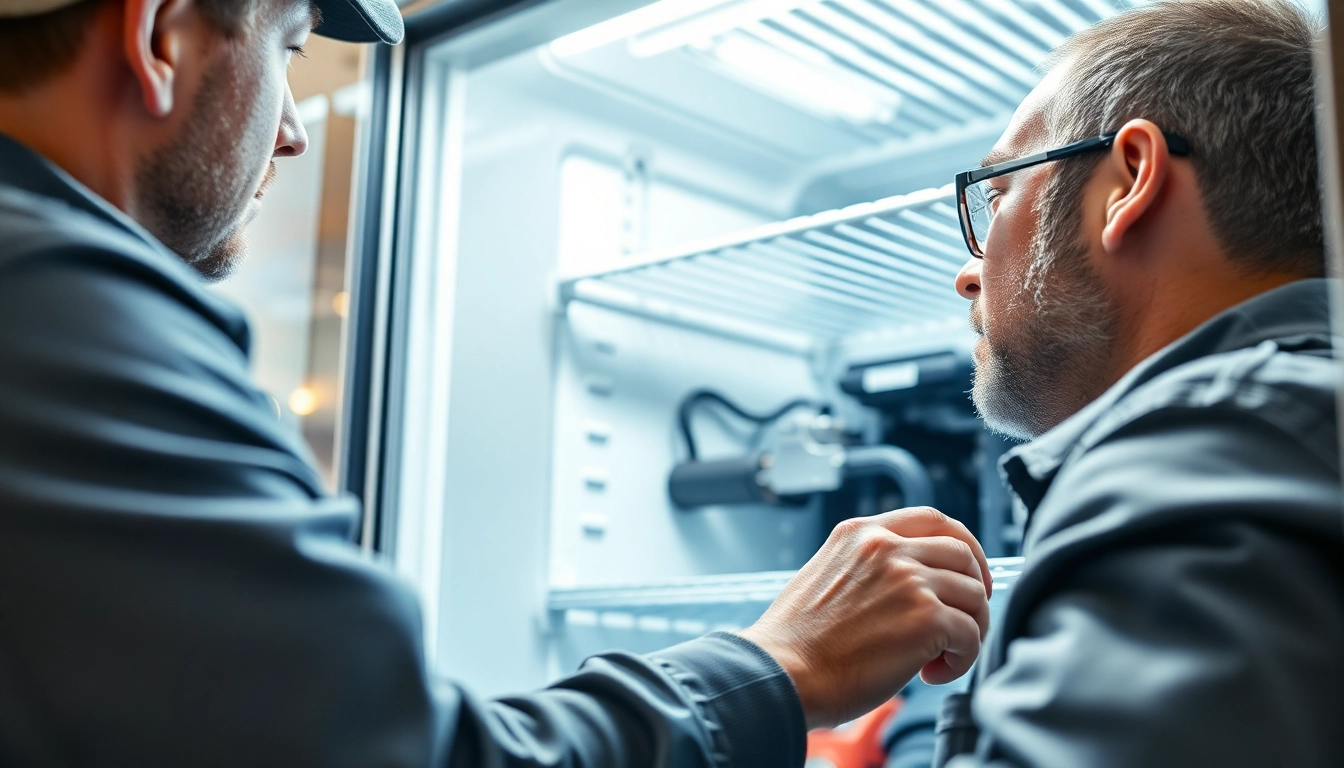
Diagnosing Issues in Your Beverage Cooler
Accurate diagnosis is vital for effective repairs. Understanding the signs of malfunction can help you identify issues promptly.
Signs That Indicate a Need for Repair
Pay attention to the following symptoms that signal your beverage cooler may need repair:
- Inconsistent temperatures: If drinks are warm on one side and cold on the other, it could signify a cooling issue.
- Unusual noises: Loud or frequent clicking or buzzing may indicate a failing component.
- Excess condensation: Excess moisture inside the unit often points to trouble with the cooling process.
- Foul odors: Unpleasant smells can indicate mold or food debris inside the cooler.
How to Use Diagnostic Tools
Utilizing diagnostic tools can simplify the troubleshooting process.
- Multi-Meter: Use a multi-meter to check for continuity in electrical components and ensure there are no broken circuits.
- Refrigeration Gauges: These can help you assess if the refrigerant levels are adequate, which is essential for proper cooling.
Case Studies of Common Failures
Understanding real-life examples can provide insights into diagnosing issues:
- Case Study 1: A beverage cooler that would not cool adequately was found to have a malfunctioning thermostat. Replacing it restored full functionality.
- Case Study 2: A unit that produced excessive noise was discovered to have a loose fan. Tightening the connections resolved the noise issue.
Step-by-Step Beverage Cooler Repair Procedures
Once you’ve identified an issue, a systematic approach to repair is essential. Here are step-by-step procedures for common problems.
Fixing Temperature Control Problems
To address issues with temperature control, follow these steps:
- Check the thermostat setting to ensure it’s correctly set to the desired level.
- Test the thermostat with a multi-meter. If it’s faulty, replace it.
- Inspect the cooling coils and ensure they are clean and unobstructed.
- Check the refrigerant levels with refrigeration gauges; if low, hire a professional to recharge it.
Addressing Compressor Failures
Compressor issues can be complex but here’s a general guideline:
- Verify that the compressor is receiving power by checking connections and fuses.
- Listen for unusual sounds from the compressor. A buzzing sound may indicate failure.
- If the compressor is hot, it may have a clog or electrical problem and might need servicing or replacement.
Replacing Damaged Components
When specific components fail, replacing them may be necessary:
- Identify the damaged part, such as a fan motor or condenser coil.
- Order a suitable replacement from a reputable supplier.
- Follow the unit’s manual for the replacement procedure, ensuring all components are snapped into place securely.
- Test the unit before reassembling the exterior casing to confirm functionality.
Maintenance Tips to Extend Cooler Life
Preventive maintenance can prolong the life of your beverage cooler. Here are some effective tips:
Regular Cleaning and Care Methods
Regular upkeep not only enhances performance but also improves hygiene:
- Clean the Condenser Coils: Vacuum the coils at least twice a year to prevent overheating.
- Wipe Down Interior and Shelves: Regularly clean the interior surfaces with a mild detergent to prevent odors and bacteria.
- Check Seals: Inspect door seals for damages to ensure proper cooling efficiency.
Optimal Setting Recommendations
Proper temperature settings can impact the performance of your cooler:
- Set the optimal temperature between 36°F to 38°F for beverages.
- Avoid overloading the cooler to allow adequate air circulation.
Seasonal Maintenance Checklist
Create a checklist to follow each season:
- Inspect the cooler for physical damages.
- Clean condenser coils and filters.
- Test all electrical components to ensure proper function.
When to Seek Professional Help for Beverage Cooler Repair
While many repairs can be handled independently, knowing when to call in a professional is vital.
Assessing Cost vs. DIY Repairs
Determine whether a repair is worth your time and expense:
- Calculate the estimated cost of parts and time to repair versus purchasing a new unit.
- If the expected repair costs exceed 50% of the replacement price, consider a new cooler.
Finding Reliable Repair Services
If you choose to hire a professional, finding a trustworthy service is essential. Look for:
- Positive reviews and testimonials.
- Licensing and insurance coverage.
- Warranty on repairs and parts.
Knowing When a Replacement is Necessary
Sometimes repairs can be time-consuming and costly, making replacement the more viable option. Consider:
- The appliance’s age: If it’s over 10 years old, weigh the benefits of replacement against repair.
- Repeated failures: If your cooler has had multiple issues recently, investing in a new model might be wiser.